10 October 2026
Rave & Repeat DJ Table
I took a Fisher-Price DJ Table, kept the shell and controls, and rebuilt the insides around a Raspberry Pi Zero 2 W. It now speaks English and Irish, makes loops, remixes your voice, plays music from a phone and has a platter that actually responds to a spin.
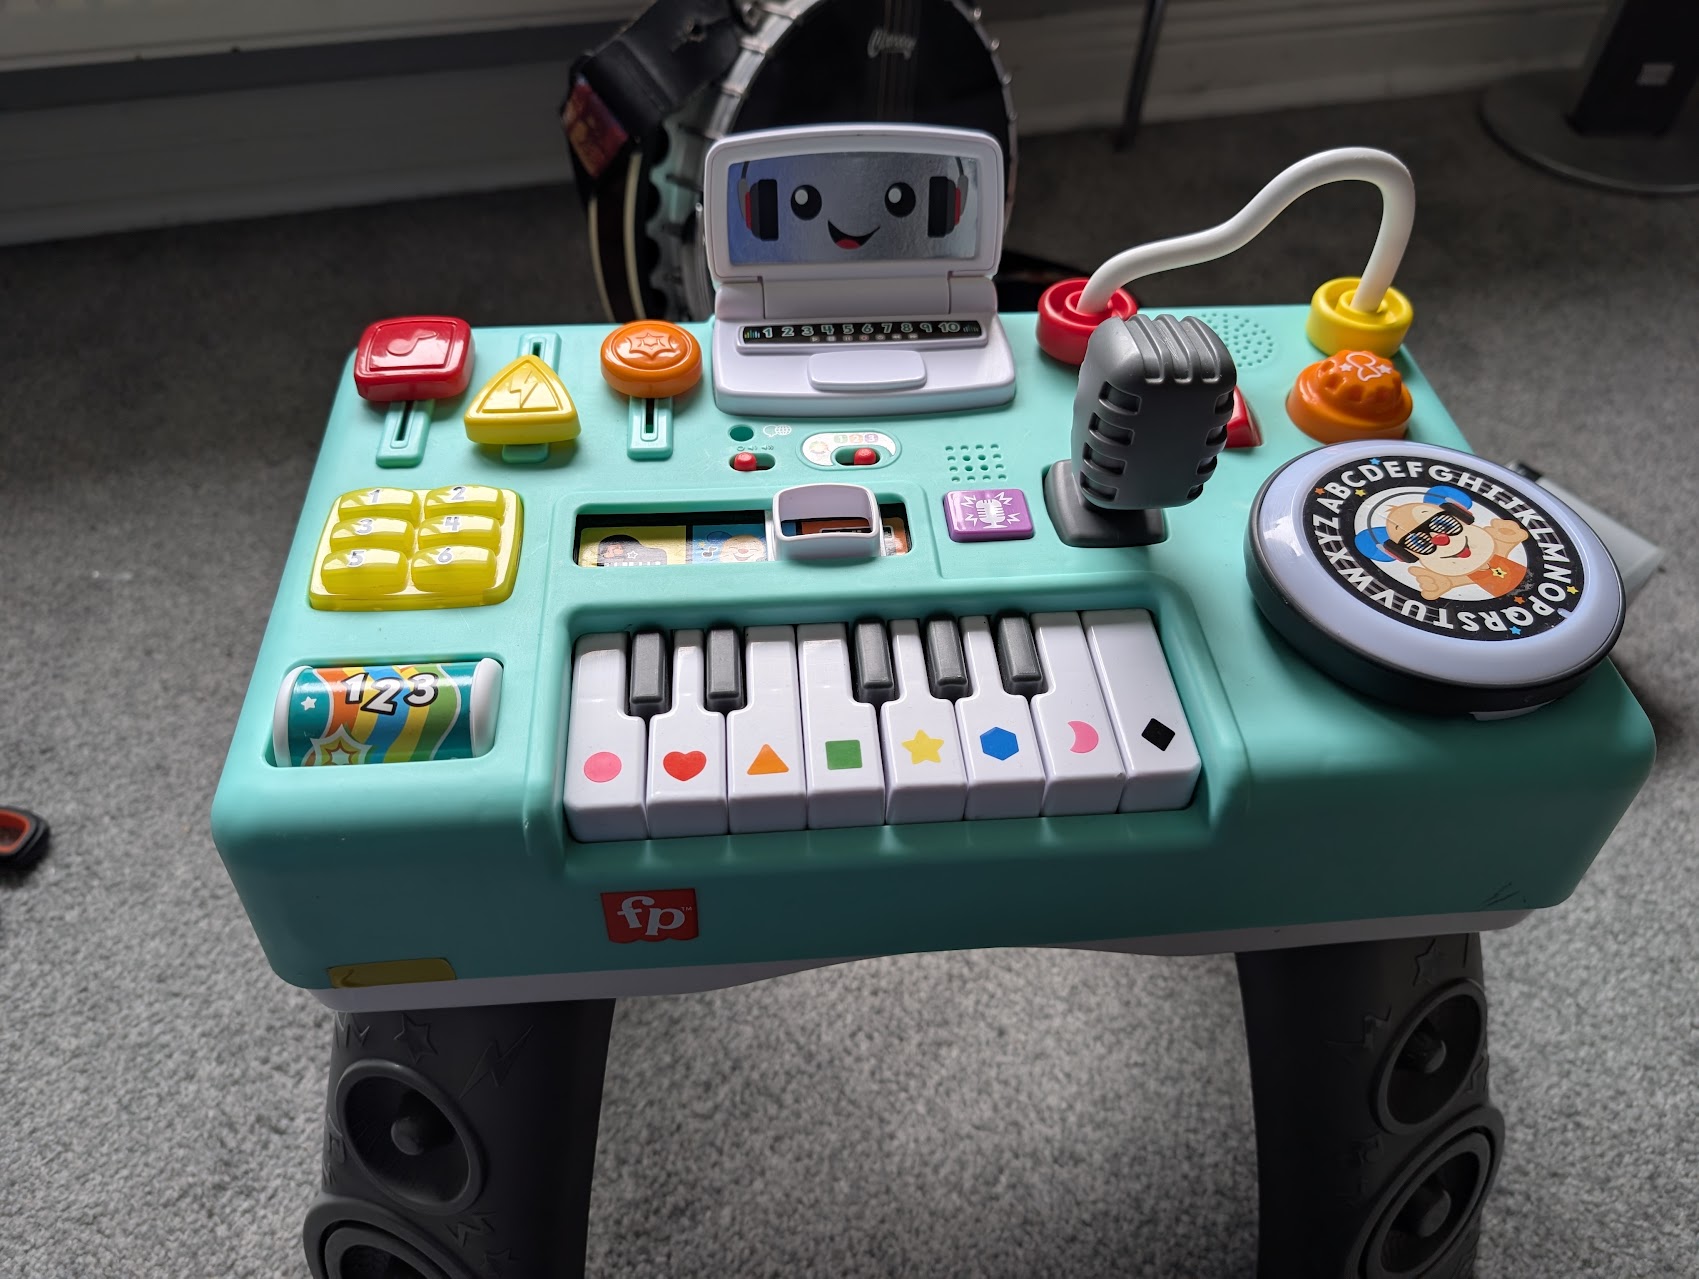
Three ways to play
Choose a mode: hold the mode button (the original language switcher) for five seconds to cycle through Learning, Music Maker and Bluetooth. You can also choose a mode on the table's web page.
Change the music: tap the same button to switch instruments and beats between Teenage Disco, House, Punk and Baby Raver.
01Learning
Colours, shapes, notes and a little voice remixing.
- Keys: colours and shapes in English at Level 1, Irish at Level 2, and musical notes at Level 3.
- NumPad: play a random track from your uploaded songs.
- Record: capture three seconds of your voice and hear it pitched up over a beat.
- Platter: bend the sound as it plays, or trigger a scratch when nothing is playing.
02Music Maker
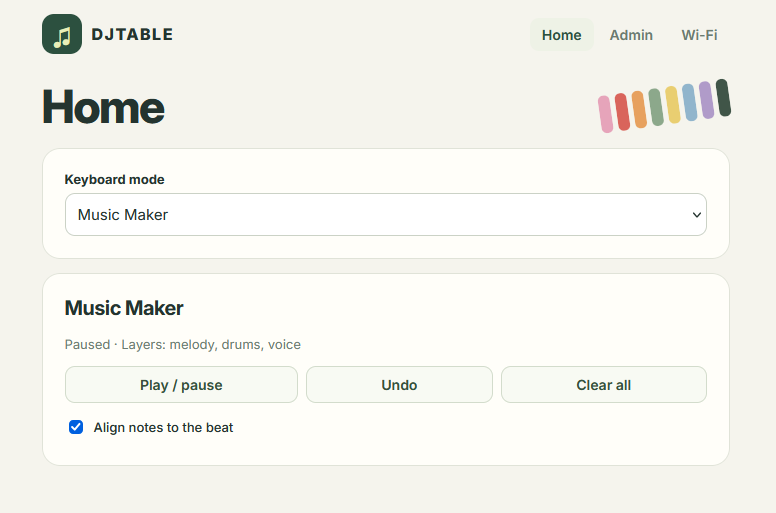
Build a loop in three layers: melody, drums and your own voice as a playable instrument.
- Hold Record: record a layer after the count-in.
- Tap NumPad: play or pause the loop.
- Hold NumPad: clear the current layer or the whole loop.
03Bluetooth
Play music from your phone through the toy while the keys play along.
- Pair with DJTable: connect from your phone's Bluetooth settings, then start your music.
- Connection window: the table waits two minutes, then returns to Learning if nobody pairs.
What is inside
- Raspberry Pi Zero 2 W on a custom PCB
- MAX98357A speaker amp and INMP441 microphone
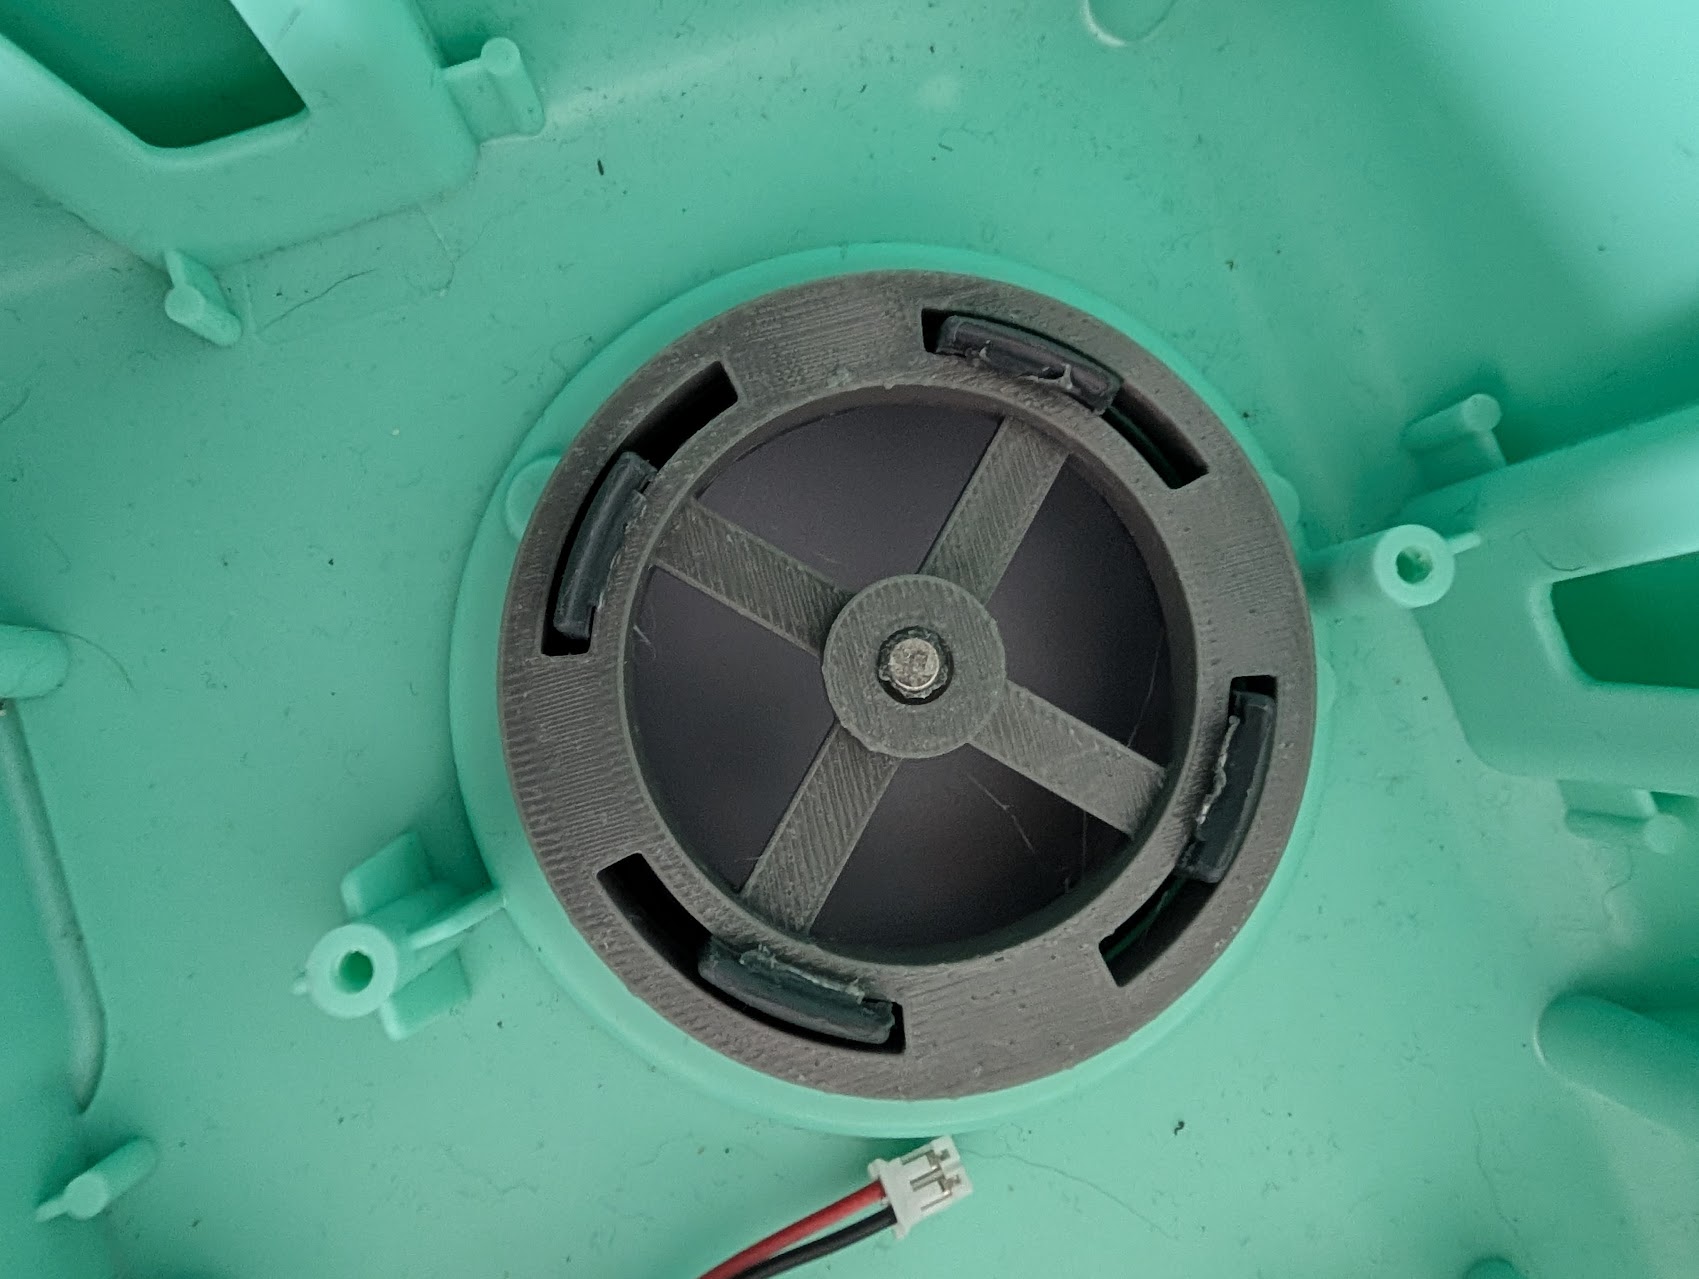
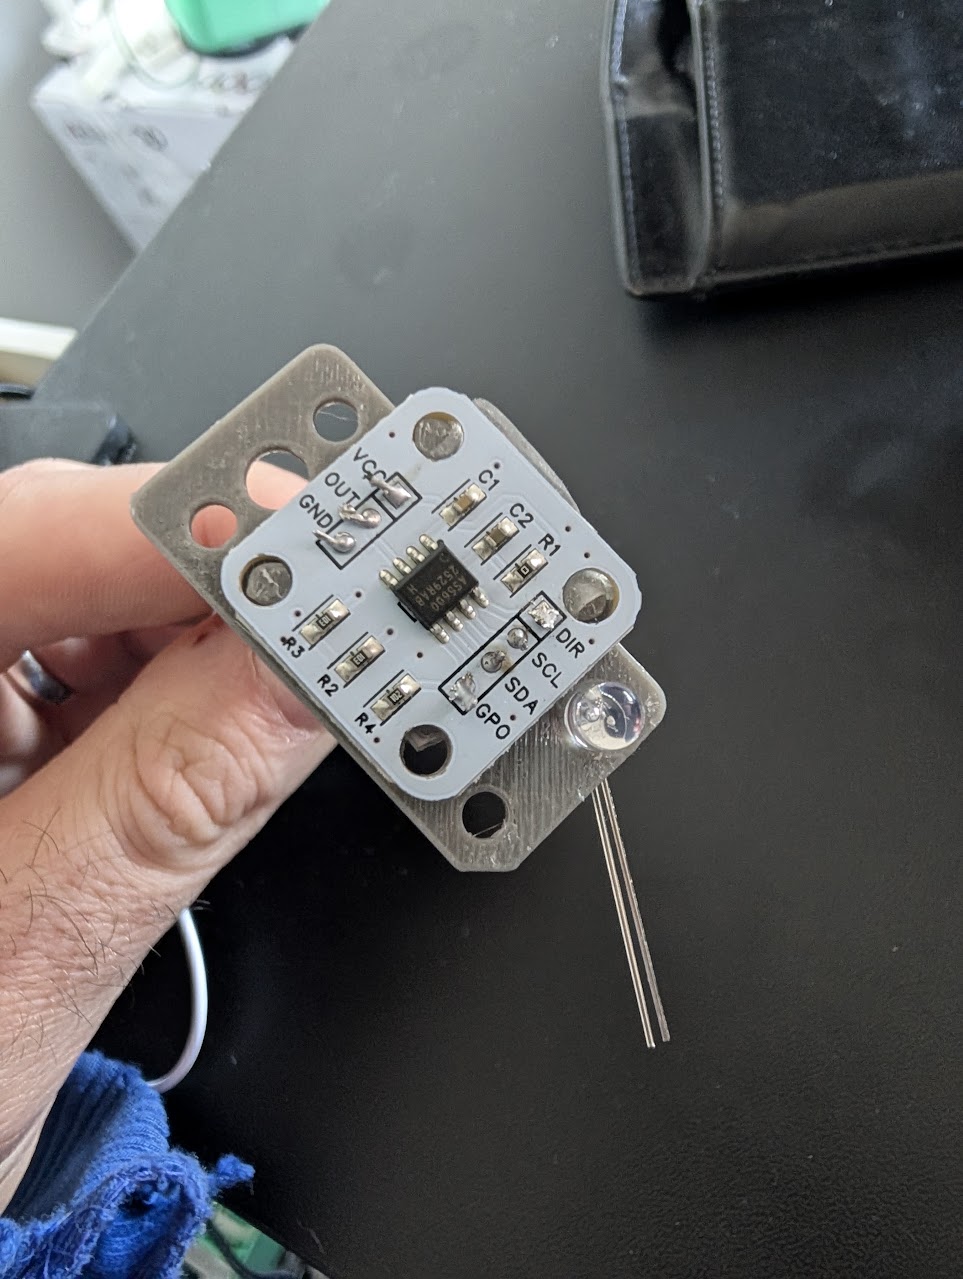
- AS5600 magnetic angle sensor under the platter
- Printed platter and sensor mounts, with a diametric magnet
- The original eight-key keyboard and toy shell
- New switches for the Level, Volume and Tone controls
- 2.54 mm screw terminals for the PCB wiring
Before ordering the PCB
The published Gerbers are the revision I built, but four fixes still have to be made by hand: wire amp SD to Pi header pin 7 (GPIO4), wire amp GAIN to ground, bridge R2 with 0 Ω or a wire, and fit the replacement switches listed below. The Pi also mounts chips facing the PCB board (upside down) Read the hardware README before soldering.
Use SS-23D03-G4 for Level and Volume, and PS-12F03-G5 for the three Tone buttons. The original switches do not fit this board.
Some edits...
The round plastic support that held the original microphone sits underneath the PCB. It is too narrow for the INMP441 module, so I cut that plastic away to give the new microphone room.
For power, I drilled a hole in the side of the case and fitted these USB-C panel mounts. The board takes 5 V at J3; do not power it through the Pi's USB port at the same time.
Optional speaker upgrade: the printed Speaker Holder fits these speakers. To fit the holder and new speaker, cut away the white plastic arm that held the original speaker down.
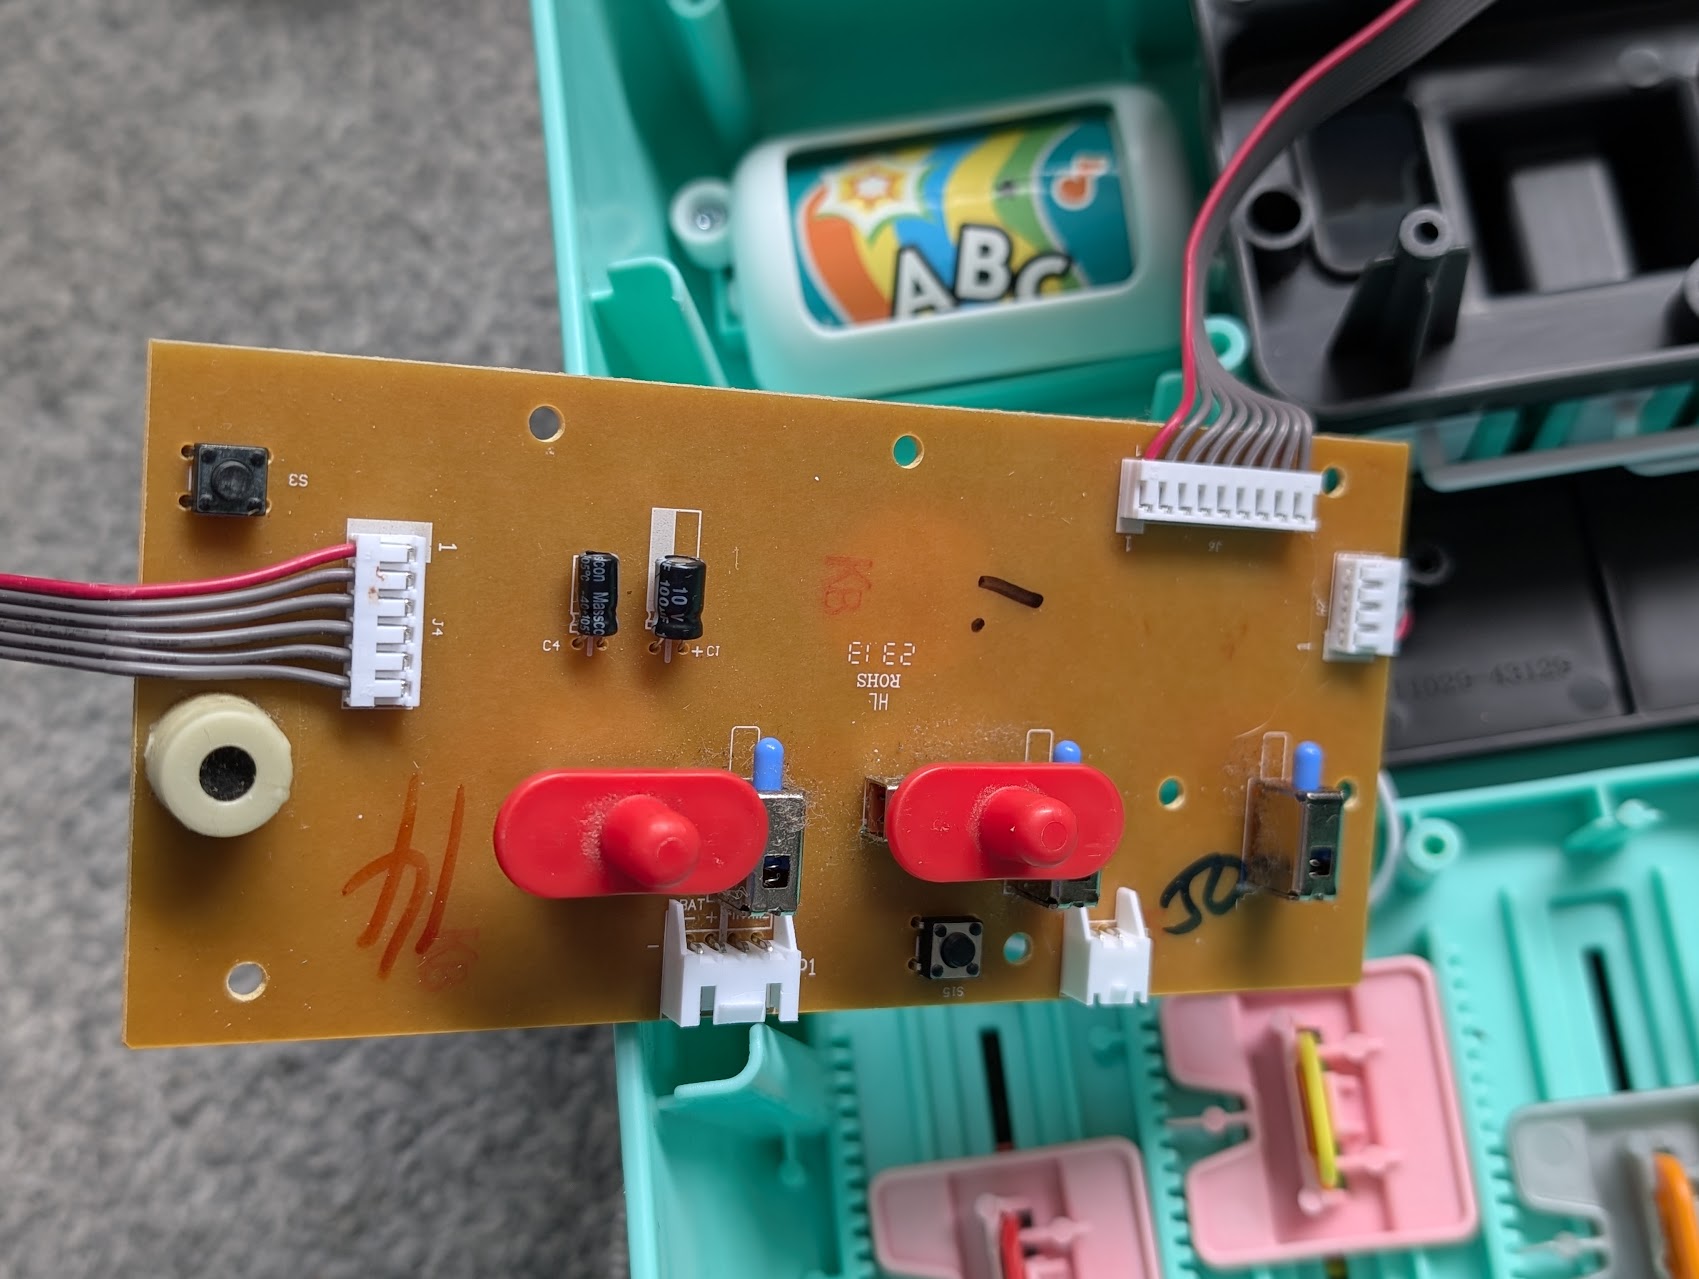
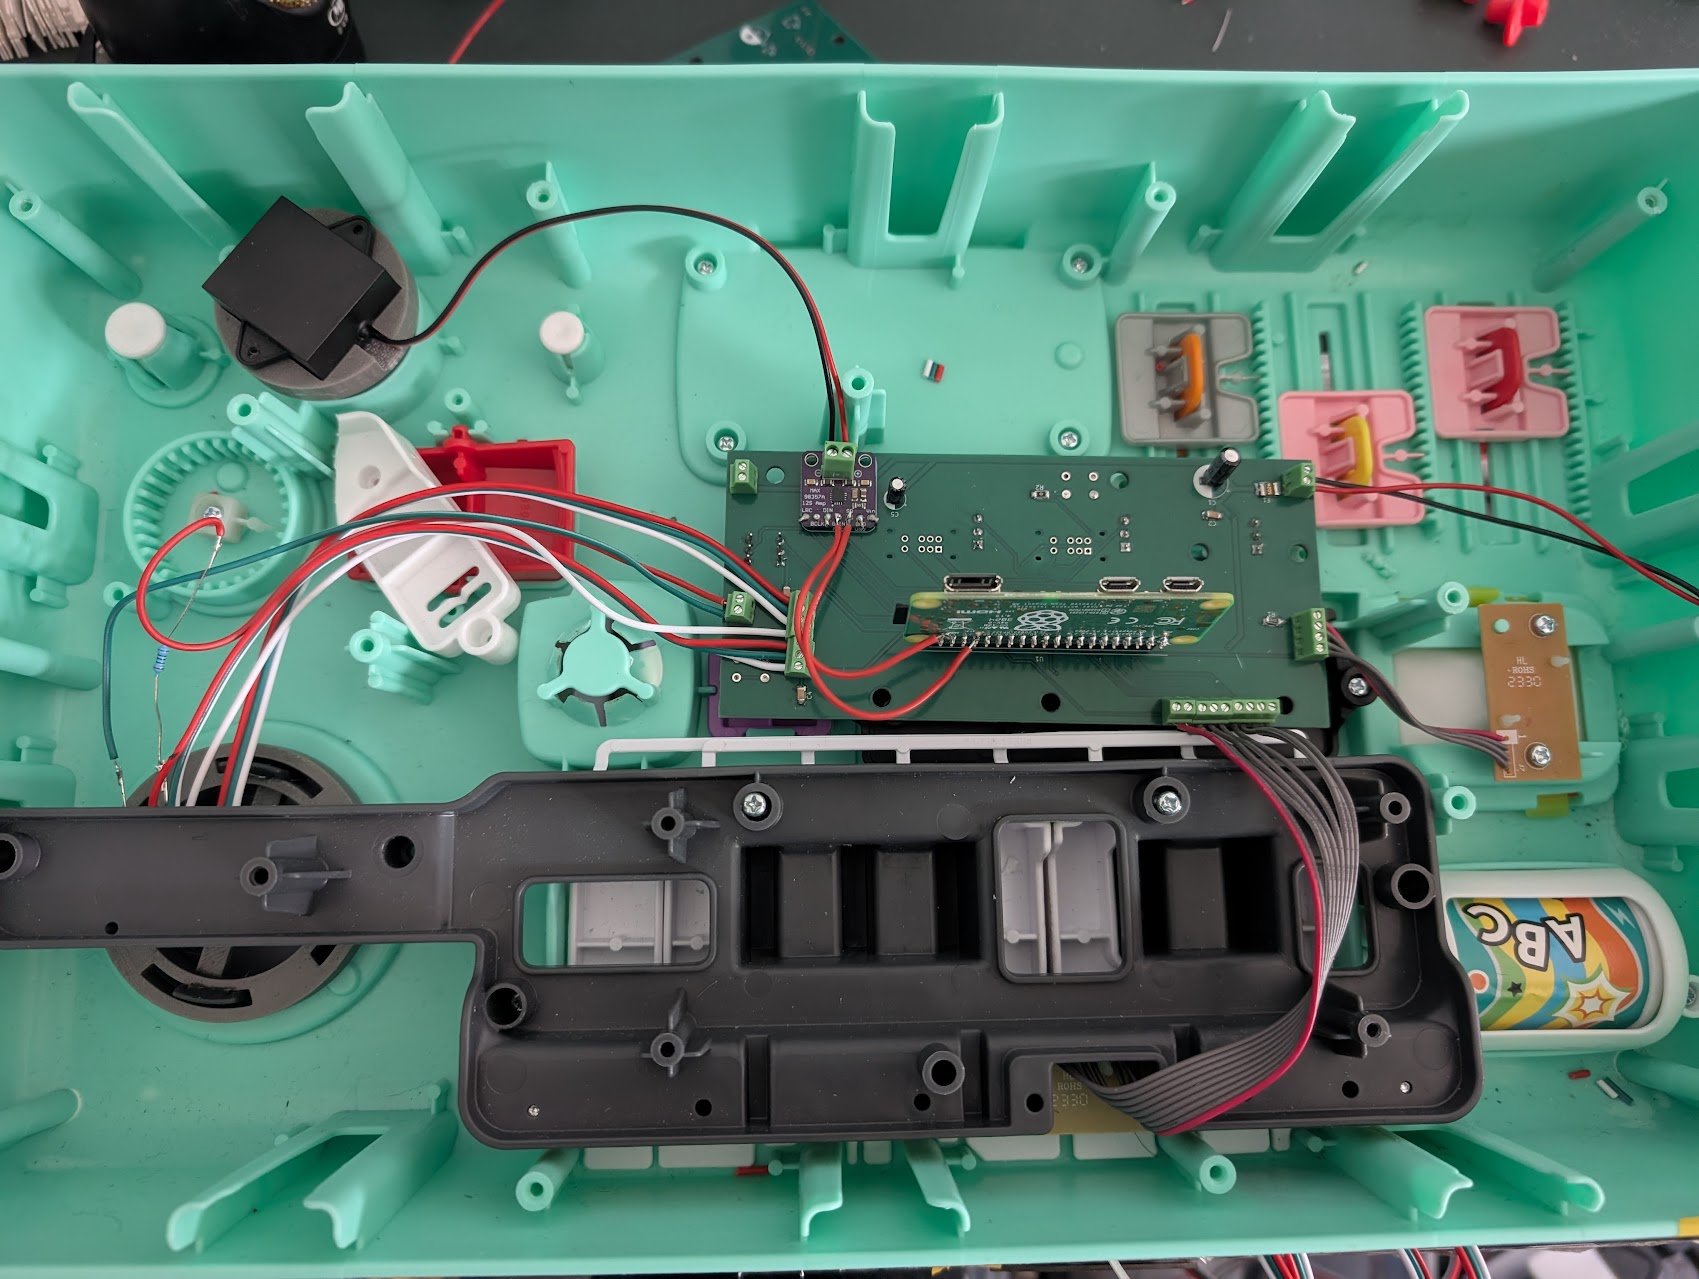
Build notes
- Open the toy. Cut the keyboard ribbon, NumPad button and platter wires close to the old PCB. Remove the narrow round microphone support so the INMP441 fits.
- Populate the PCB. The repo has two-layer Gerbers, a schematic, a KiCad 10 project and the parts list. Populate it with all parts (Raspberry Pi chips facing the board), add 2.54 mm screw terminals for the wiring, and make the SD, GAIN and R2 fixes above.
- Give the platter a real sensor. Print the replacement platter mount and AS5600 mount. Glue a diametric magnet in the platter mount and align it over the AS5600. The sensor replaces the original platter button board.
- Wire the controls and power. Fit the USB-C connector or add a power bank if needed.
- Test before closing the shell. Check every control, the microphone and the platter on the Admin page after installing the software.
Software setup
Use a Pi Zero 2 W and a microSD card of at least 16 GB. In Raspberry Pi Imager, write Raspberry Pi OS Lite (64-bit), set a hostname and login, add your 2.4 GHz Wi-Fi network, and enable SSH. Once the Pi has started, connect over SSH and run:
sudo apt update
sudo apt install -y --no-upgrade git
sudo git clone https://github.com/LifeOnAFarm/RaveRepeatDJTable /opt/PiDJTable
cd /opt/PiDJTable
sudo sh deploy/install.sh
sudo reboot
The installer sets up the services, audio, platter, Bluetooth and starter sounds. This can take some time so be ready to wait. When the table restarts, open http://<hostname>.local:8080 on the same network.
After installation, the I recommend sudo sh deploy/tune-pi.sh and a reboot to free memory on the Zero 2 W. This will remove a lot of unneeded bulk on the Pi that can cause lack of RAM and sound stuttering. By bulk I mean things like GUI etc. that you might want. Read the notes on the Github to get a full picture.
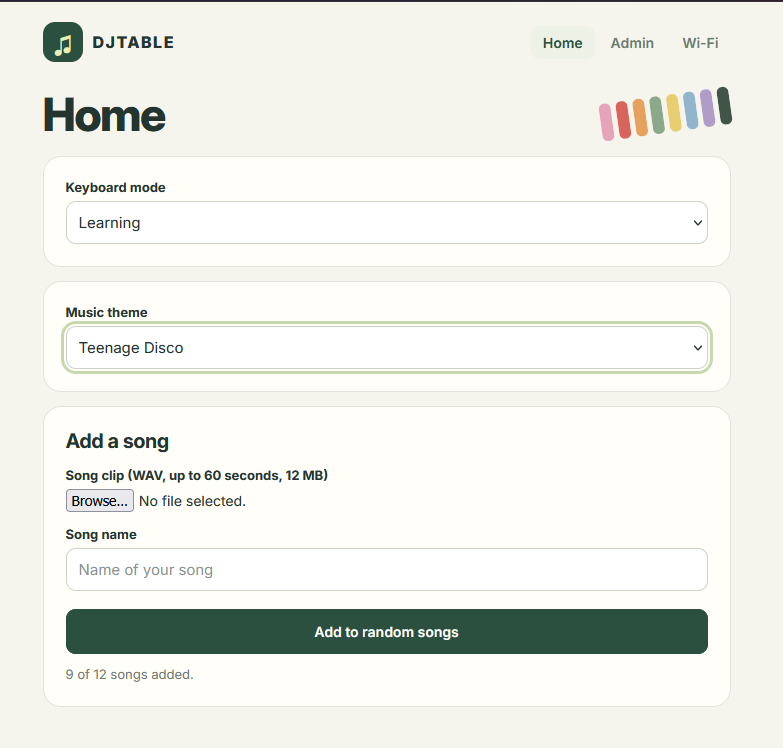
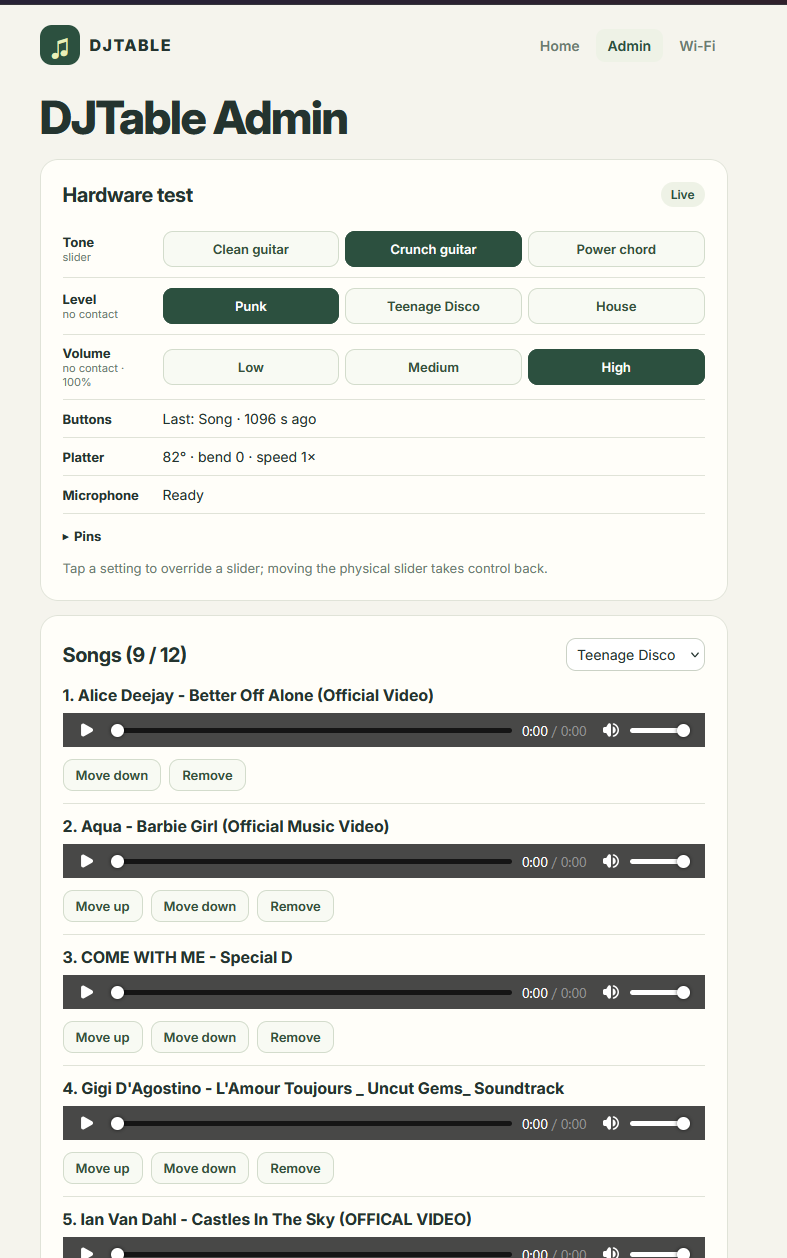
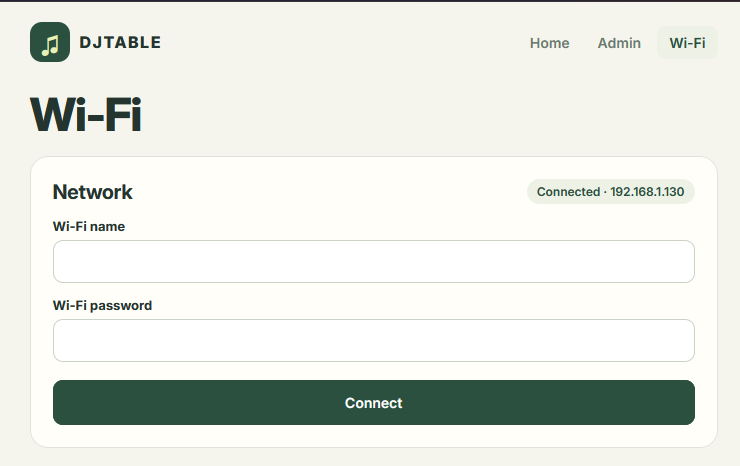
The Home page chooses mode and theme and accepts song uploads. Admin shows live hardware readings and manages songs. Wi-Fi lets the table join another network. The optional DJTable-Setup fallback network is explained in the full installation guide.
Add your own sounds
The repo includes English and Irish words, announcements, the recording prompt and scratches. Songs are yours to add and you can overwrite any of the sounds to make this toy you own.
Replacement sounds should be WAV, 48 kHz, 16-bit mono. The sound guide covers file names, lengths, loudness matching and backups.
Check it before play
Admin shows each button and slider, the platter angle and microphone status. Run through every control while the shell is still open. If the platter says Sensor unavailable, check the AS5600 wiring and magnet alignment. If a theme change crackles, check the amp SD wire to GPIO4.
The install guide has the service log command and more troubleshooting steps.
Files and Github
The project repo is the source for the current code and files. The hardware folder contains Gerbers, the schematic, KiCad project and printable parts. The guides cover the complete installation and sound replacement process.